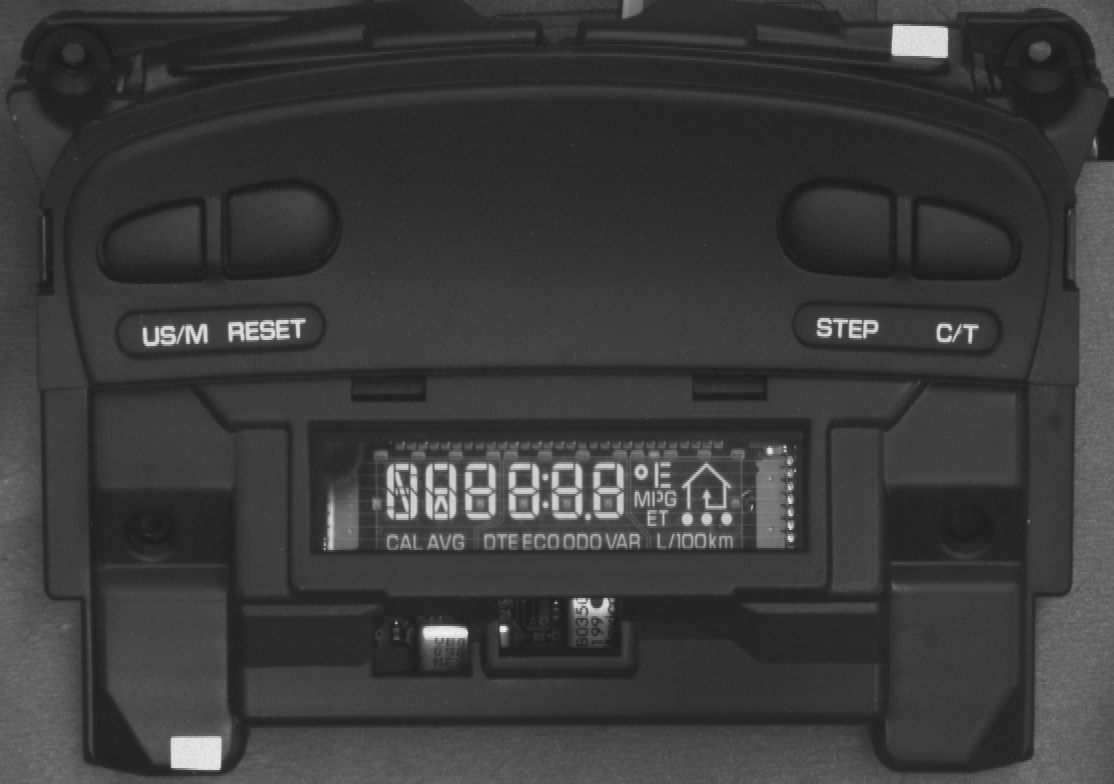
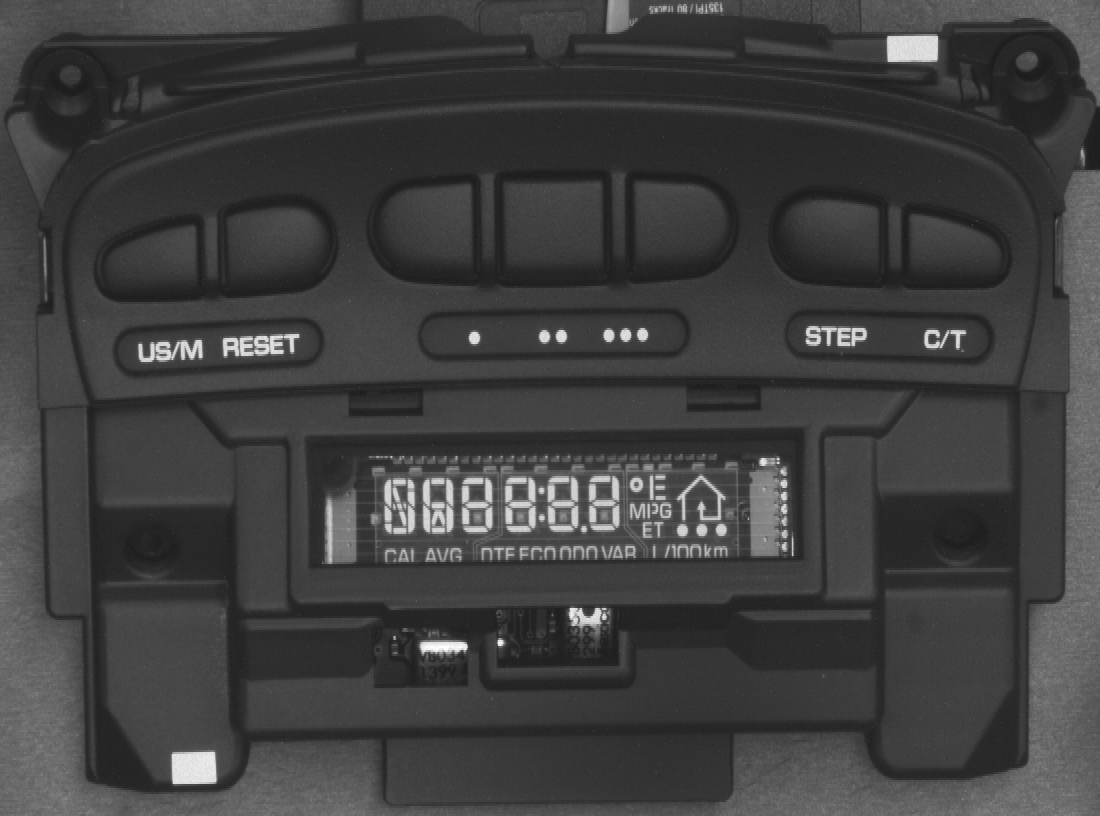
(a) Panel without central buttons (b) Panel with central buttons
(a) Panel without central buttons (b) Panel with central buttons
2. Check if there are white components attached to the board. The position of the white components may vary.
3. Check if the VFD chip is mounted parallel to its frame.
4. Check if the characters on the applique are the pre-specified ones. Check if the size and position are normal.
1. The program is capable of both learning and testing. In the learning stage, the program learns from the images of different panel models and saves the feature information in a database. In the testing stage, the program snaps or loads an image, checks it with the database, and gives PASS/FAIL signals.
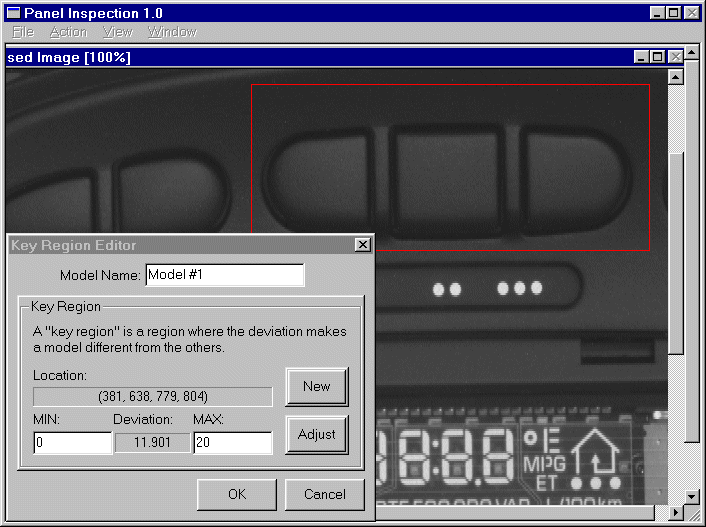
2. Different panel models have different layouts. For example, some have buttons in a specific location and some dont. These different models can be distinguished by comparing the deviation of that particular region. In the learning stage, this software provides the interactive interface for user to specify the region where a panel model is different from the others. User can also specify the tolerance of the deviation that is allowed for an image to be identified as one particular type. The default tolerance is 10%. In the software, we call these regions as Key Bounding Boxes (KBB). It can be easily defined by using clicking and dragging of the mouse. Different panel models can have different KBBs as long as the deviation inside the bounding box makes one model different from all the others.
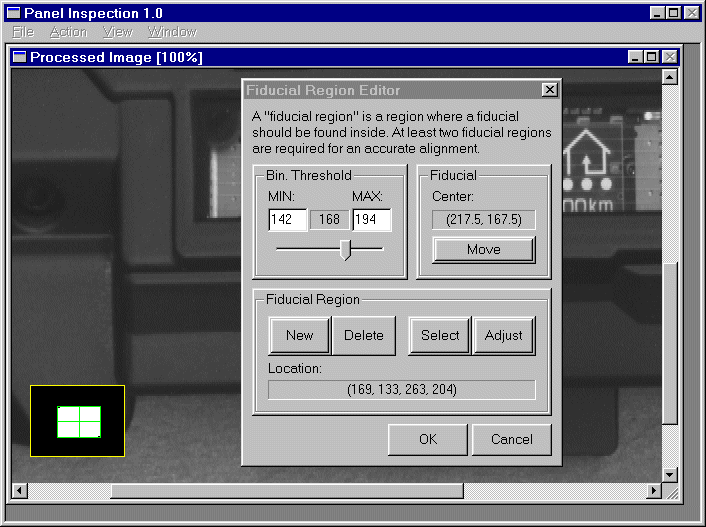
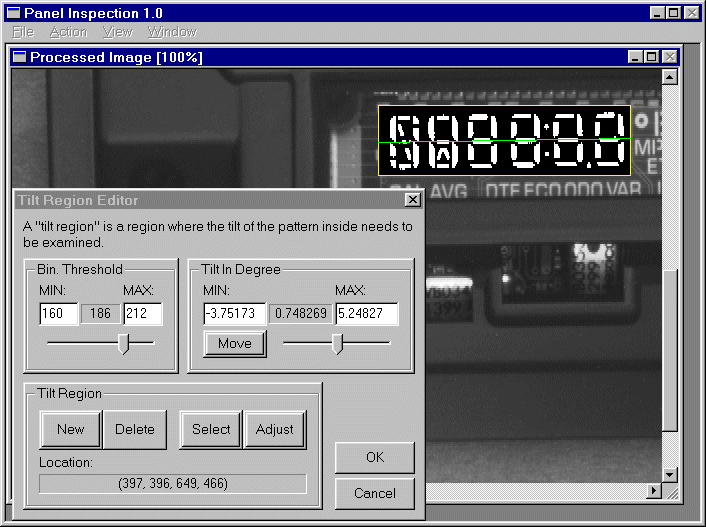
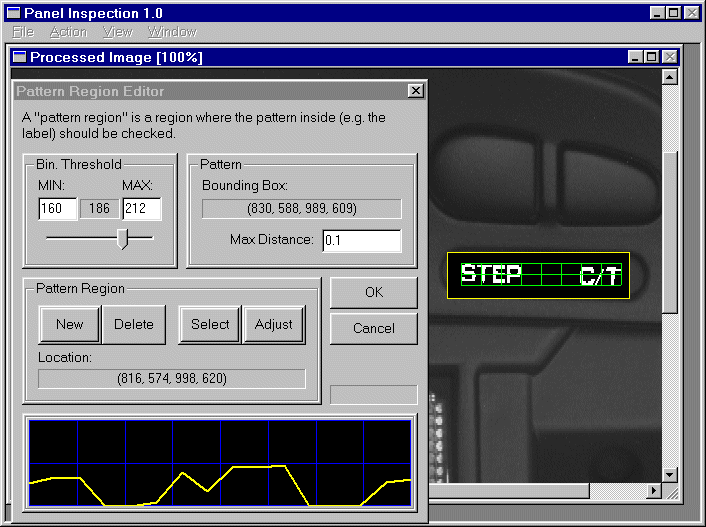
3. Besides the KBB, the plug-in components of different panel models can also be different. For different panel models, different components are to be inspected. The inspection includes presence/absence checking, tilting checking, label recognition and etc. In the software, these components to be inspected are called Regions of Interest (ROI). The second step in the learning stage is to define these ROIs. This software also provides the interactive tools to serve this purpose. These tools allow user to draw bounding boxes, perform dynamic binarization, and perform instant tilt calculation. Everything is just one click away. User can specify the tolerance of tilt angle. The default tolerance is 10%. User can also specify a tolerance for the binarization threshold so that she can filter out badly illuminated cases.
3.1 Fiducial region editor
3.2 Tilt region editor
3.3 Pattern region editor
4. The database generated during the learning process is saved in binary format for efficiency. However, you can view and dump it into a text file. This software can handle unlimited number of panel models and each model can have unlimited number of ROIs.
5. In the testing stage, the software checks the KBBs of the image and finds out a match from the database. Once which model is determined, a model-specific inspection task is then performed. The testing is fully automatic. A PASS/FAIL message is prompted after each test. The testing results can be viewed and dumped into a text file for bookkeeping. The original image and the processed image can also be saved.
6. For easy viewing, the image can be zoomed in/out by double-clicking the mouse in the image window. Double click the left button to zoom in, and double click the right button to zoom out. The center of your view after zooming is the point where you just double clicked. User can open images easily by drag-and-drop.
For more information and software, please contract Professor Yi Lu.